Filter by topics
Privacy & Security

- Life
- Privacy & Security
- Factsheet
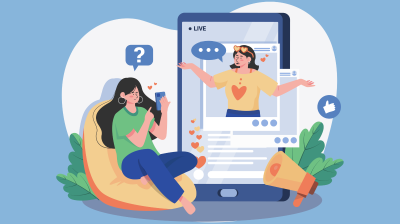
How to fact check information online
Written by: spunout
It’s important to be media literate enough to be able to fact check information online if you are spending time on social media

- Privacy & Security
- Factsheet
How to know if you’ve been hacked
Written by: spunout
Unfortunately, getting hacked can be a reality of being online, but there are things you can do to protect yourself
- Privacy & Security
- Factsheet
How do algorithms work?
Written by: spunout
Algorithms have a huge influence over our online experience, shaping what we see and how we experience online spaces

- Privacy & Security
- Factsheet
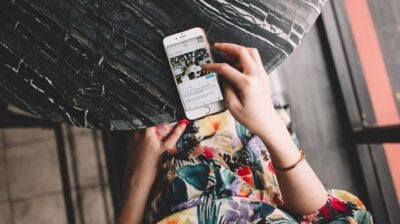
Secrets of social media influencers
Written by: spunout
Find out how social media influencers make money and what they need to do to get the perfect shot
- Privacy & Security
- Factsheet
How to tell a social media post is an ad
Written by: spunout
Being able to identify an ad on social media helps us to understand where the posts on our feed are coming from

- Privacy & Security
- Factsheet
Can you trust a social media influencer?
Written by: spunout
Taking time to look at the profile or channel of the influencers you follow can help you to decide whether or not you trust them

- Privacy & Security
- Factsheet
How to set up two-step verification
Written by: spunout
Setting up two factor authentication can help to keep your accounts secure and prevent other people from logging in
- Privacy & Security
- Factsheet
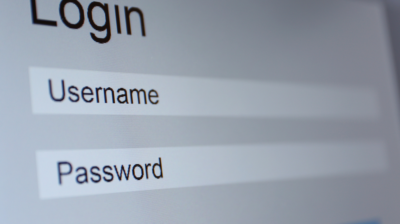
How to create a strong password
Written by: spunout
Find out the key to a good password so you can keep all of your accounts and information secure

- Privacy & Security
- Factsheet
How to keep your financial information safe online
Written by: spunout
It's important to make sure all your financial information is safe and secure